Flutter is a free, open-source SDK for creating cross-platform applications using a single code base. Designed, developed, and optimized by Google to be the ideal UI software development kit used for the development of Android, Linux, Mac, Windows, iOS, and Google Fuschia applications, Flutter is written in C, C++, and Dart, which makes it easy for seasoned developers to use it comfortably.
Flutter has been getting traction in the development community since its release because it is attractive to professional developers for rapidly building apps as well as to new programmers who are excited about learning cross-platform app development.
In this article, you will learn how to install the Flutter app on your Ubuntu Linux machine using the following instructions. At the end of the day, you should be able to build Flutter apps using an emulator of your choice and Visual Studio Code.
System Requirements
To install and run Flutter, your development environment must meet these minimum requirements:
- A 64-bit Linux operating system with at least 10 GB of storage and 8 GB (recommended) memory.
- A Java 8 is installed and your JAVA_HOME environment variable is set to the JDK’s folder.
- An Android Studio is installed and your ANDROID_SDK_ROOT environment variable is set to that installation directory.
Install Java in Ubuntu
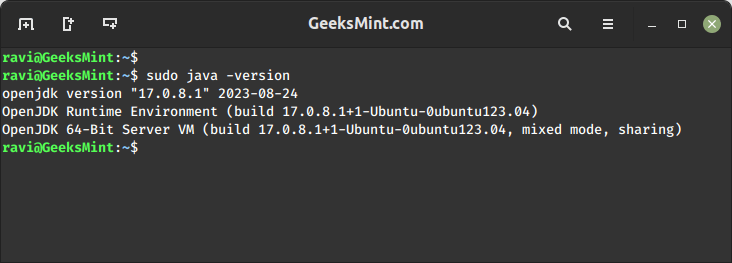
First, run the following command to check if the Java version you’re running in case it is already installed.
$ java -version
If it isn’t, run the following command to install it and then check the version again to confirm it has been properly installed.
$ sudo apt install default-jdk
$ java -version
Install Android Studio in Ubuntu
Android Studio needs to be installed on your Ubuntu system to run Flutter. Since you want to set up a development environment, I’m assuming your machine meets the minimum requirements.
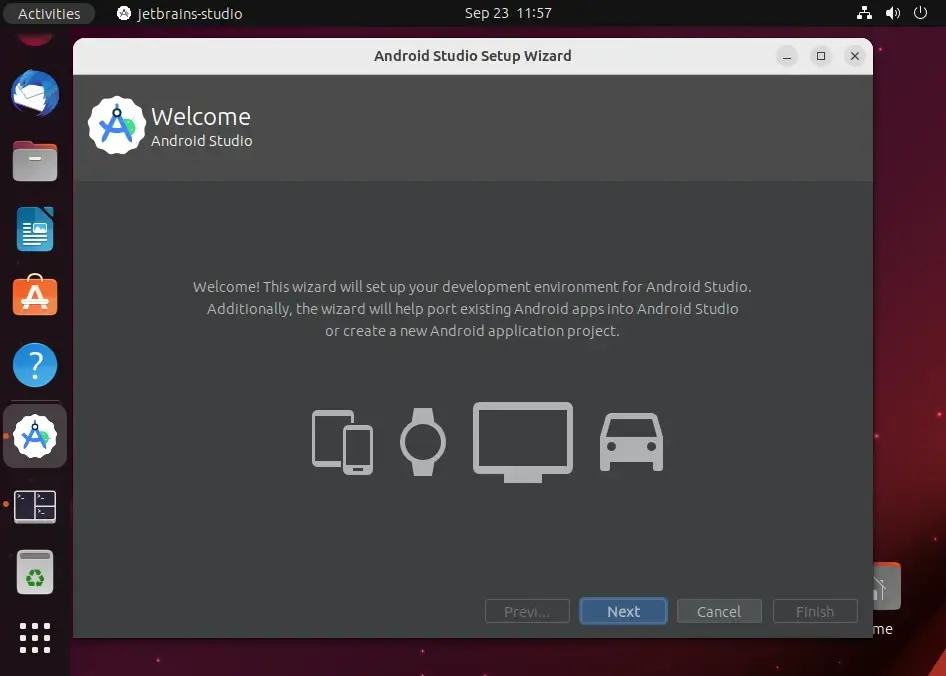
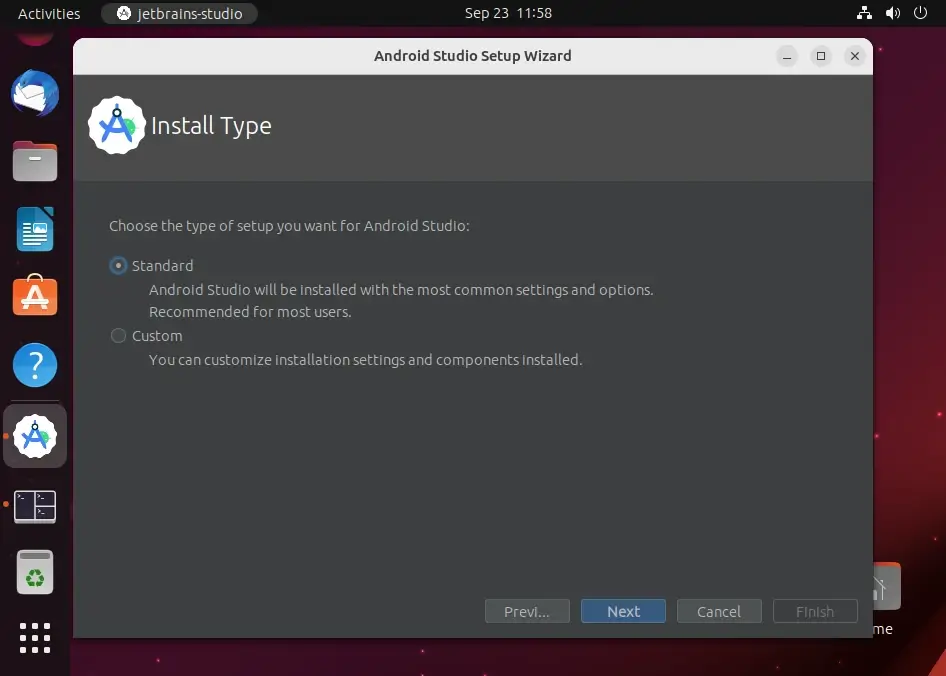
To install the latest version of Android Studio on Ubuntu, you need to download the Android Studio Giraffe installer unpack the file you downloaded to an appropriate location, and run it as shown.
$ tar -xvf android-studio-*.gz
$ cd android-studio/bin
$ ./studio.sh
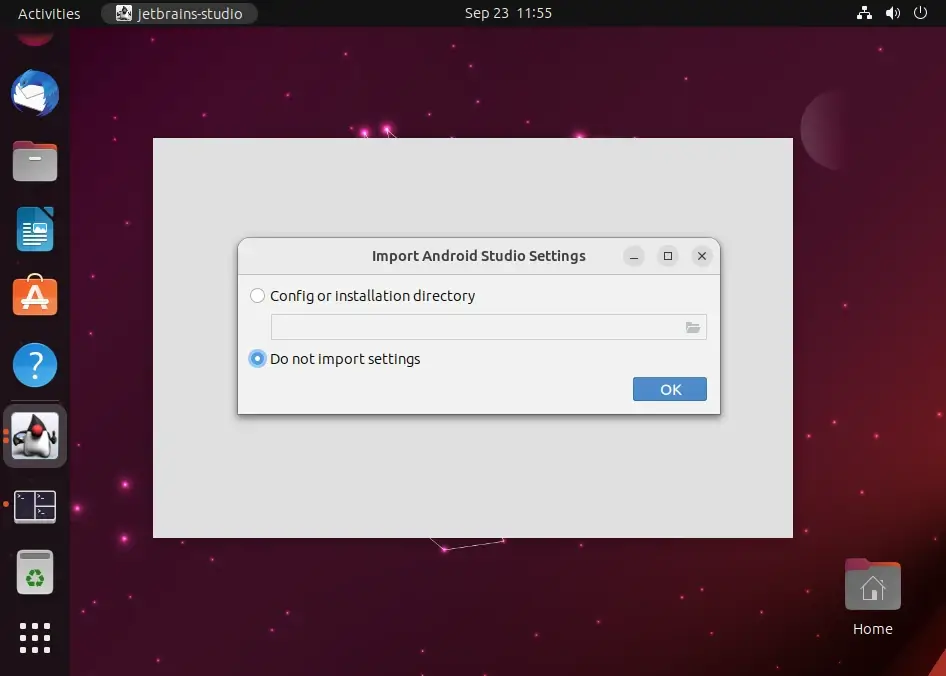
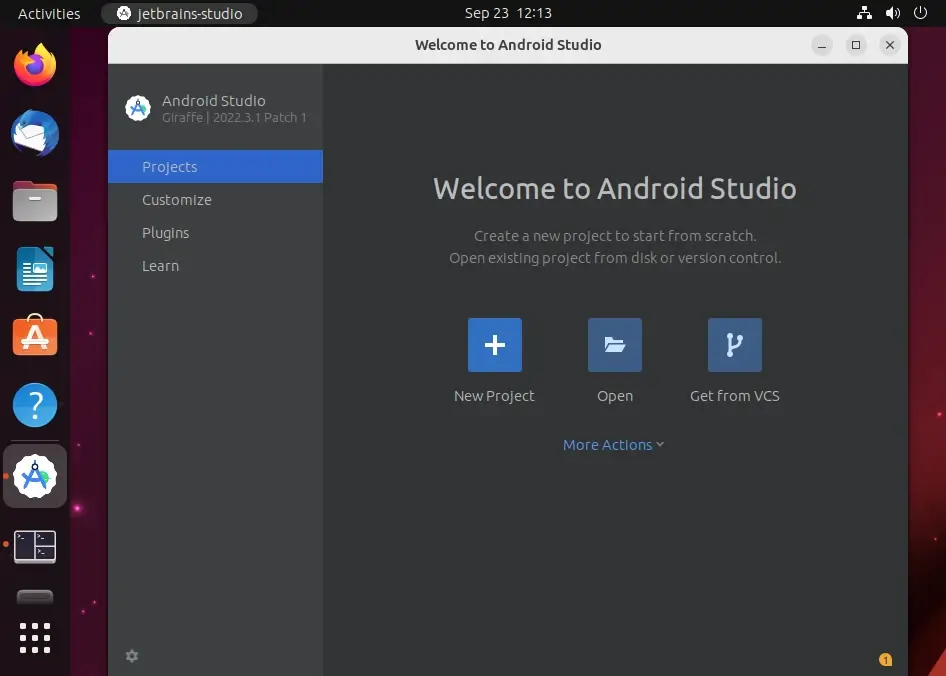
When Android Studio opens, select whether you want to import previous settings or not and click OK. Right now, you don’t need to import anything.
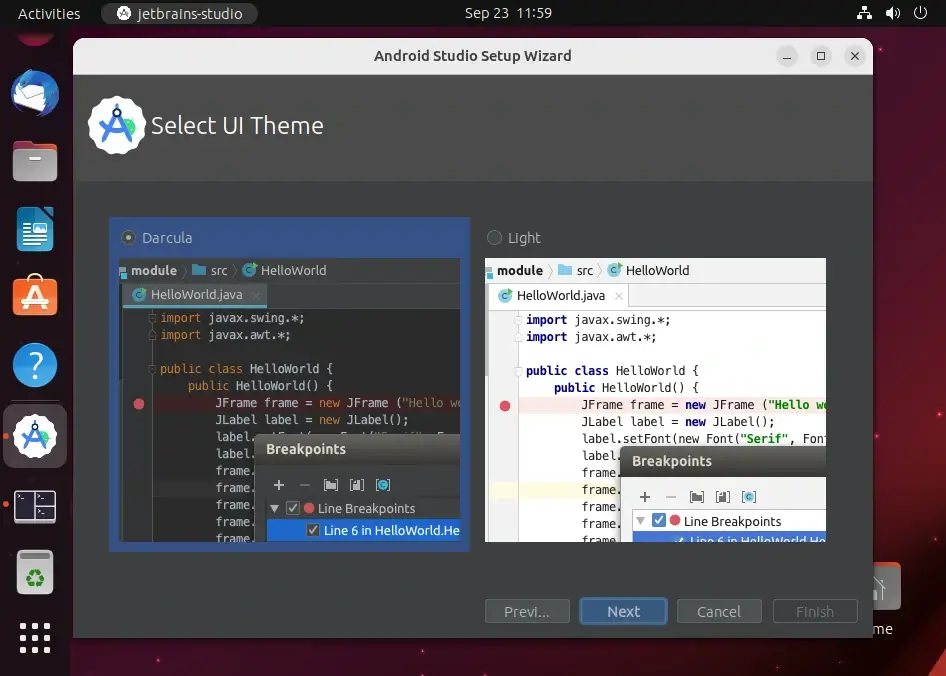
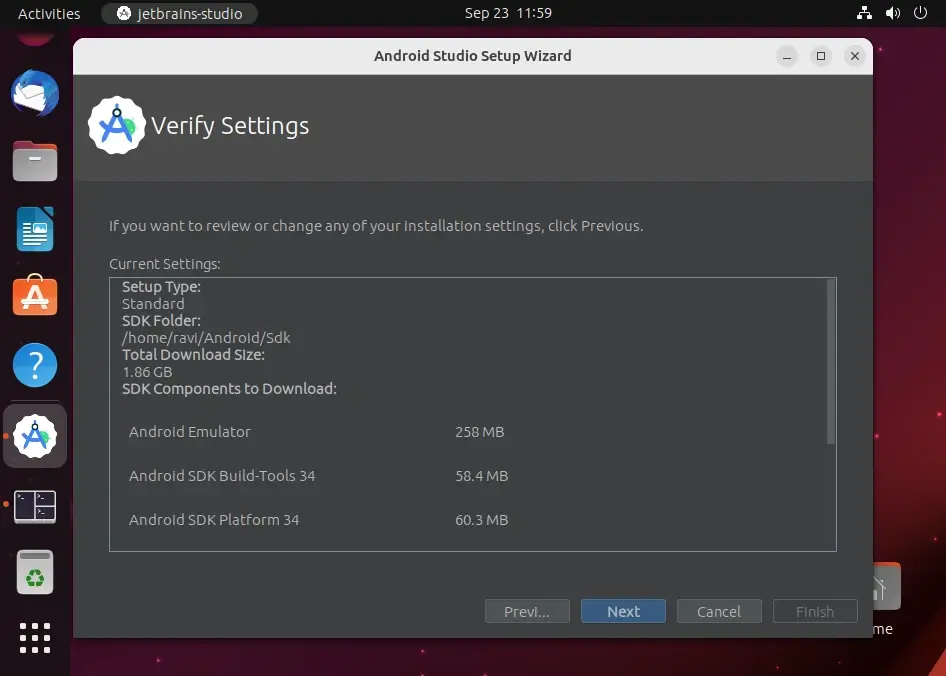
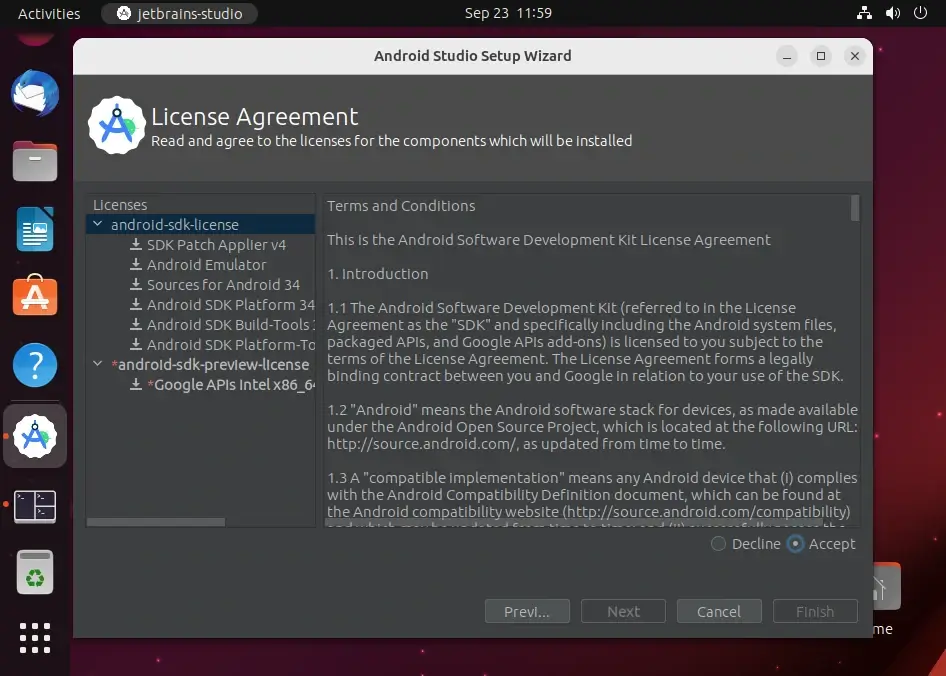
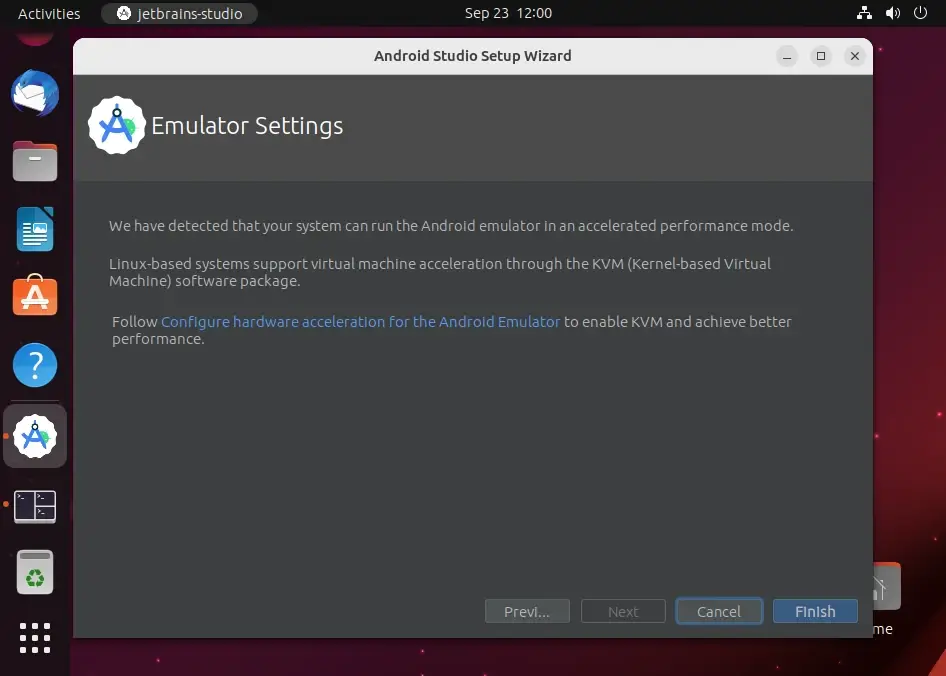
Download the various files of the Android SDK and any updates that are pending. When you have everything set, click to Start a new Android Studio Project.
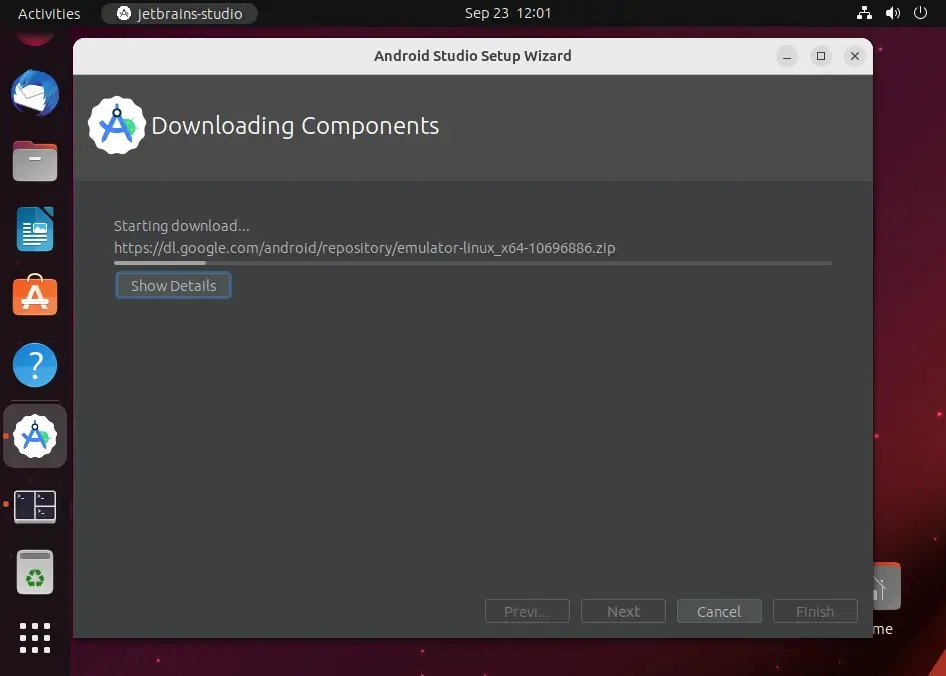
Give the project some time to build. The first builds typically take longer than usual because it is during such phases that the project preferences and default options are set in the system.
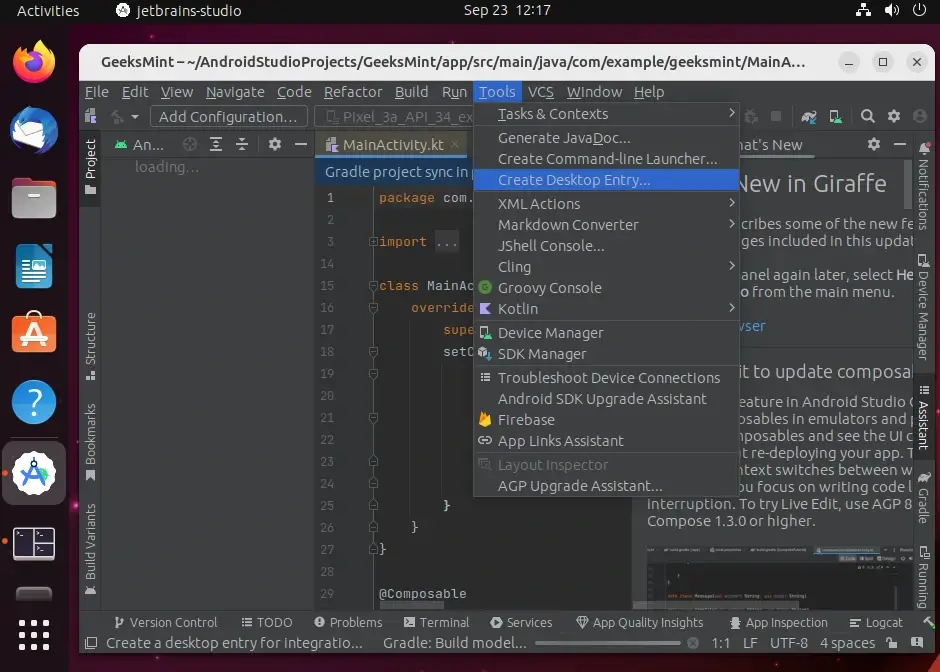
If you would like to launch Android Studio without going through the terminal next time, create a desktop icon from Tools –> Create Desktop Entry.
Install Flutter in Ubuntu
To install Flutter in Ubuntu, you need to first install a few tools and libraries required to use Flutter on Ubuntu.
$ sudo apt install curl file git unzip xz-utils zip libglu1-mesa clang cmake ninja-build pkg-config libgtk-3-dev
Next, download the Flutter SDK, and extract the file to the /development folder. It will be called Flutter.
$ mkdir ~/development
$ cd ~/development
$ wget https://storage.googleapis.com/flutter_infra_release/releases/stable/linux/flutter_linux_3.13.5-stable.tar.xz
$ tar xf flutter_linux_3.13.5-stable.tar.xz
Add the flutter tool to your path in the .bashrc file.
$ export PATH="$PATH:`pwd`/flutter/bin"
Updated the terminal by running the following command. Mind you, this works only if the Flutter SDK is in your home directory.
$ source ~/.bashrc
Save and close the file. Close your terminal too.
In a new terminal window, run echo $PATH to see the updated path which should now contain the Flutter SDK.
$ echo $PATH

/usr/local/sbin:/usr/local/bin:/usr/sbin:/usr/bin:/sbin:/bin:/usr/games:/usr/local/games:/snap/bin:/snap/bin:/home/ravi/development/flutter/bin
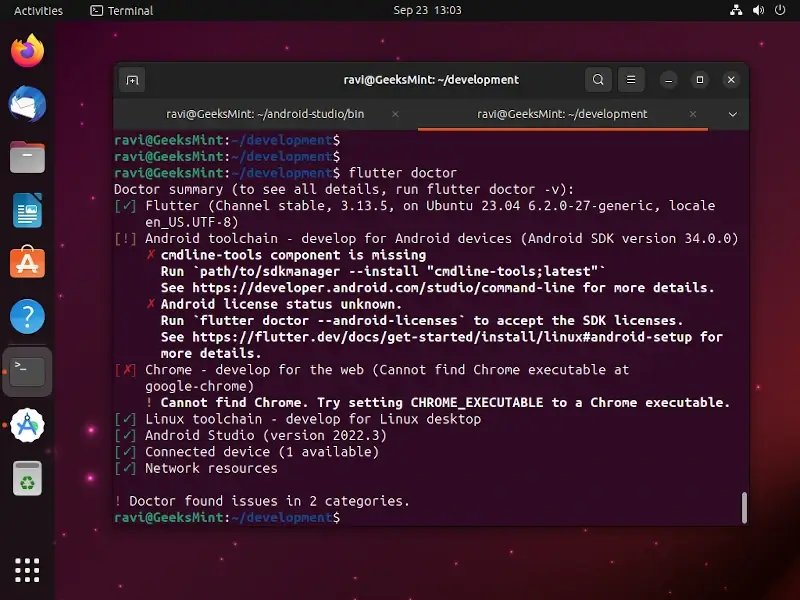
Next, run flutter doctor.
$ flutter doctor
Expect a list of issues to be displayed for different categories. Don’t be scared, here are the steps to fix them:
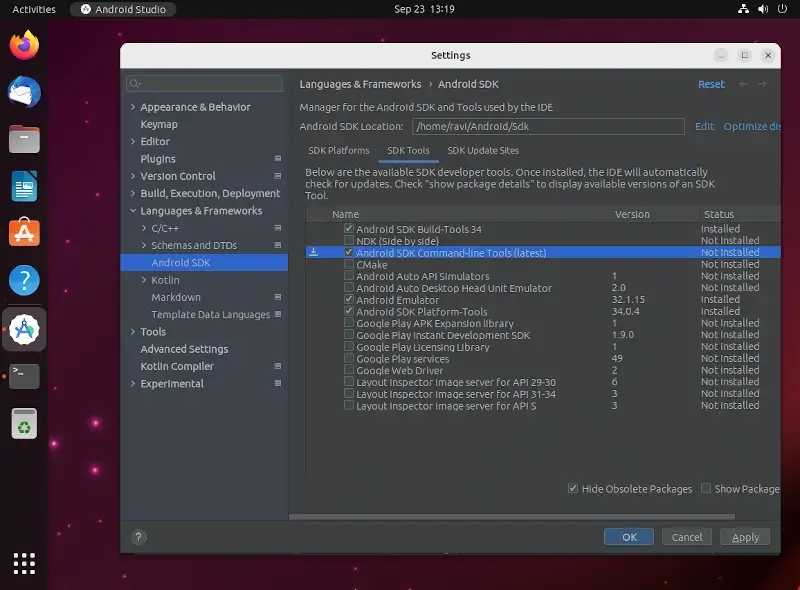
<2>Fixing Flutter Doctor Issues
1. Open Android Studio -> File -> Settings -> Language & Frameworks -> Android SDK -> SDK Tools and Check the box given for “Android SDK Command-line Tools (latest)” and then press the OK button to install.
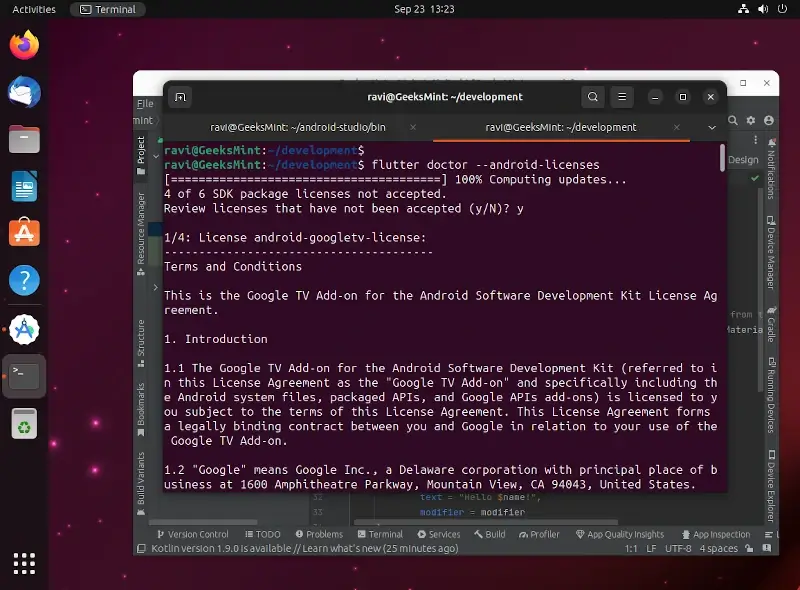
2. To use Flutter, you must run the following command to agree on the licenses of the Android SDK platform.
$ flutter doctor --android-licenses
Install Flutter Plugin in Android Studio
To install the Flutter plugin, go to Plugins > Search in repositories.
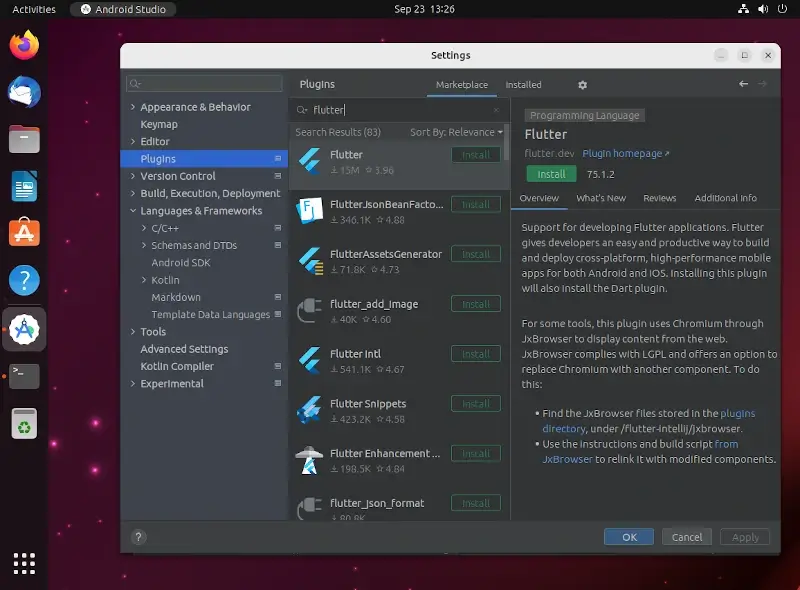
From there, install Flutter and Dart plugins for Android Studio.
Adding the Android Emulator
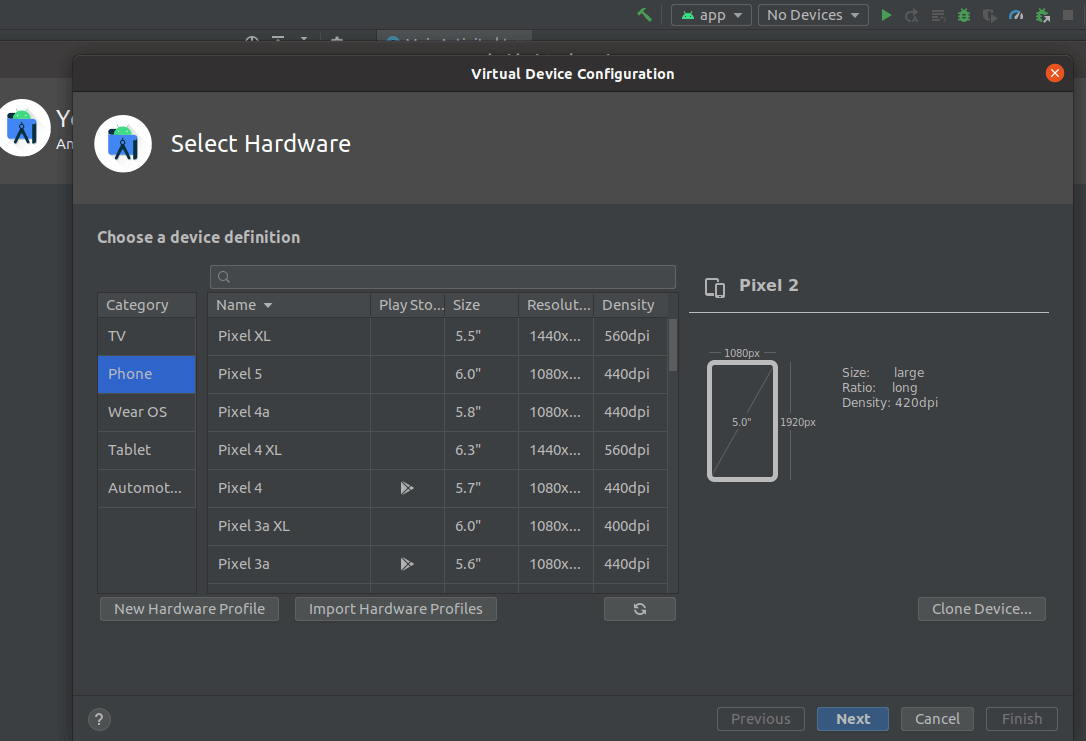
Now that Dart and Flutter plugins are installed, select the Android Virtual Device (AVD) Manager from Tools and Create Virtual Device. Select the Phone category to pick any device hardware of your choice and click Next.
The next step is to select an image. Select R and click next.
Creating Your First Project in VS Code
First, search for and install the Flutter and Dart extensions in VS Code. When that’s done, enter the following command in your terminal:
$ flutter create example_project && code example_project
This will create a project with the name ‘example_project’ and launch it in VS Code. Select No Device in the bottom right of the editor to download an Emulator. When the download is complete, launch the emulator if it doesn’t open automatically.
Congratulations, Flutter is installed and fully set up on your Linux machine! Happy developing!