Dual booting is the practice of installing multiple operating systems on the same PC. It’s a popular and convenient way of running multiple operating systems such as Linux and Windows on the same host without having to opt for virtualization which does not provide a bare-metal experience which sometimes would be necessary.
In this tutorial, we will walk you through the process of having a dual-boot setup of Windows 10 and the latest Fedora. At the time of writing this guide, Fedora 38 is the latest version.
Prerequisites
For this guide, you need to have the following:
- Windows 10 is installed on your PC, which will be the primary OS on which we will create a partition for installing Fedora.
- A fast and stable internet connection for downloading the Fedora ISO image.
- At least 8GB USB drive to be used as an installation medium.
Create a Free Space On Your Hard Drive
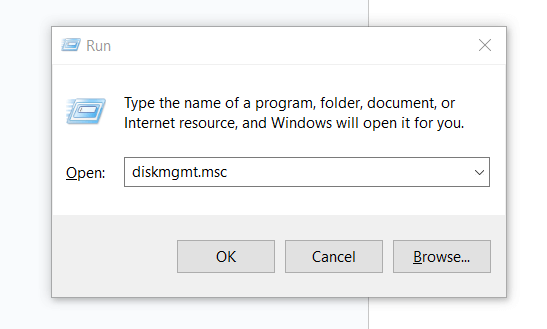
With Windows 10 as the primary OS, you need to reserve a partition on which you will install Fedora 38. To achieve this, first, launch the disk management utility by pressing the ‘Windows logo Key + R‘. Next, type ‘diskmgmt.msc‘ and hit ENTER.
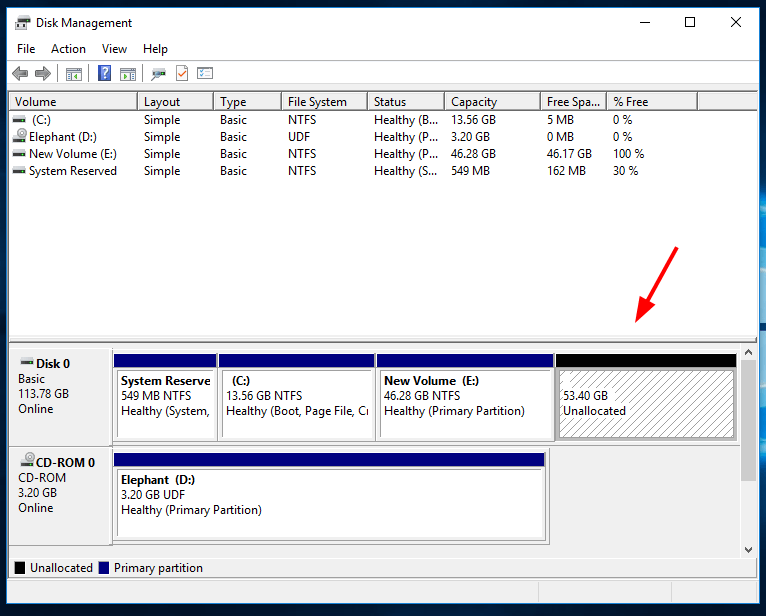
This opens the ‘Disk Management‘ console that displays the current disk partitions on the Windows system.
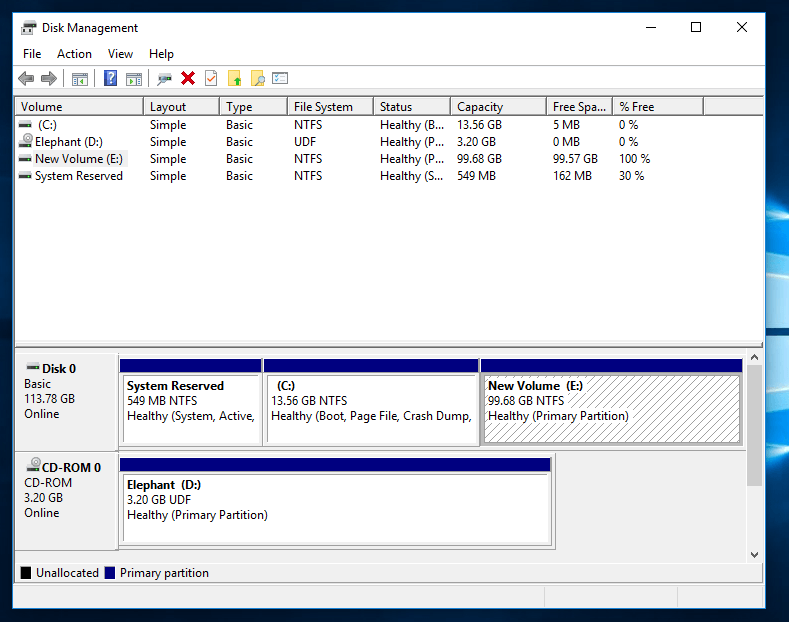
Next, we will create a reserved partition for Fedora 38. To do this, we will need to identify a volume and shrink some space. To demonstrate this, we will shrink some space on Volume E and create a new partition.
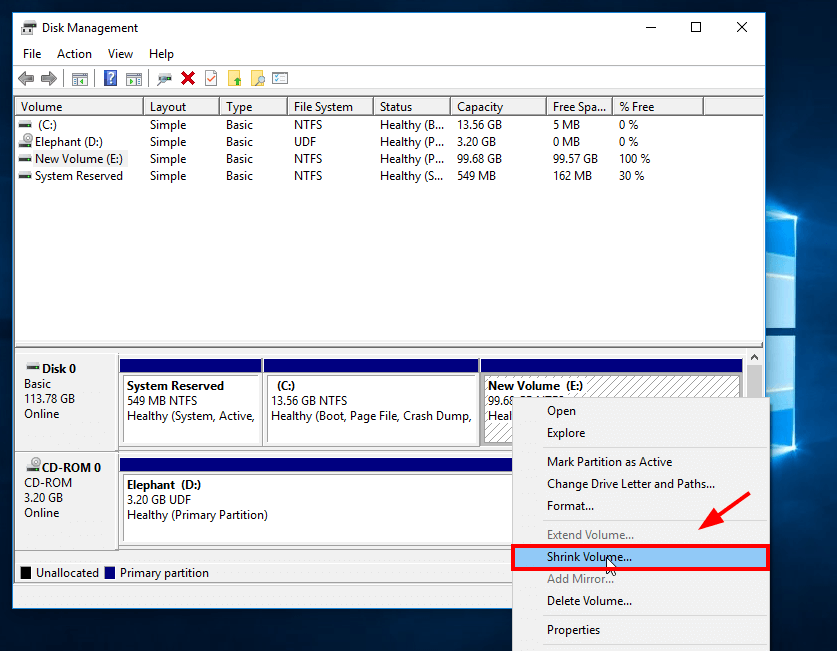
Therefore, we right-click on ‘New Volume E‘ and select ‘Shrink space‘.
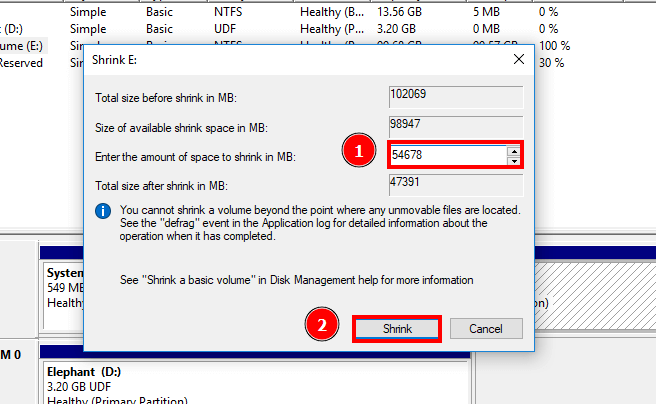
Next, specify the amount of space to shrink which will be the size of the partition reserved for installing Fedora 38. In our case, we have specified 54678MB which is approximately 54GB.
Next, click ‘Shrink‘.
Below is our reserved partition which now appears as an unallocated partition.
Create a Bootable USB Drive of Fedora in Windows
The second step is to make a live USB medium for Fedora. First, download the latest Fedora ISO file from the official Fedora download page.
Once you have downloaded the ISO image, use a tool like Rufus or Balena Etcher to make the USB drive bootable.
Also, check out the following useful tools to make a bootable USB drive from an ISO image.
Next, plug in the USB medium to your PC and reboot. Be sure to configure the BIOS settings and set the USB installation media to have the highest boot priority so that the system can boot from it.
Start the Installation of Fedora
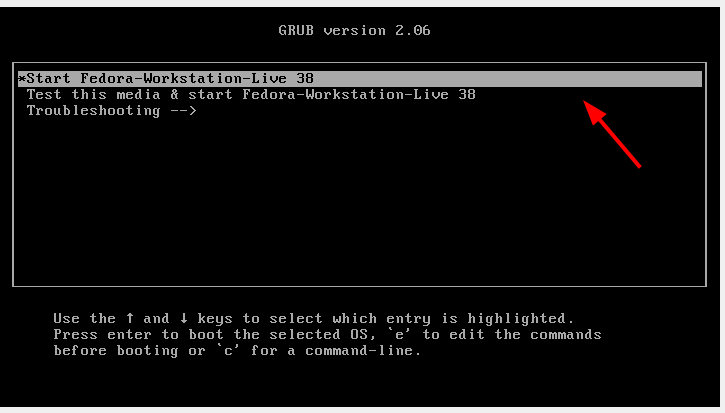
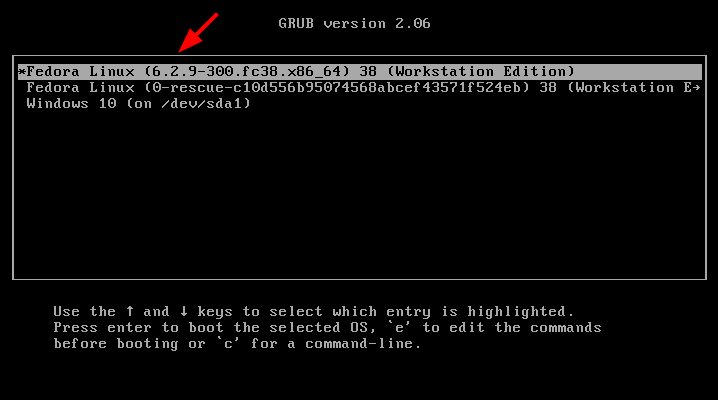
Once the system reboots, the GRUB bootloader will appear on your screen as shown. The first option is selected by default. So hit ENTER to begin the installation.
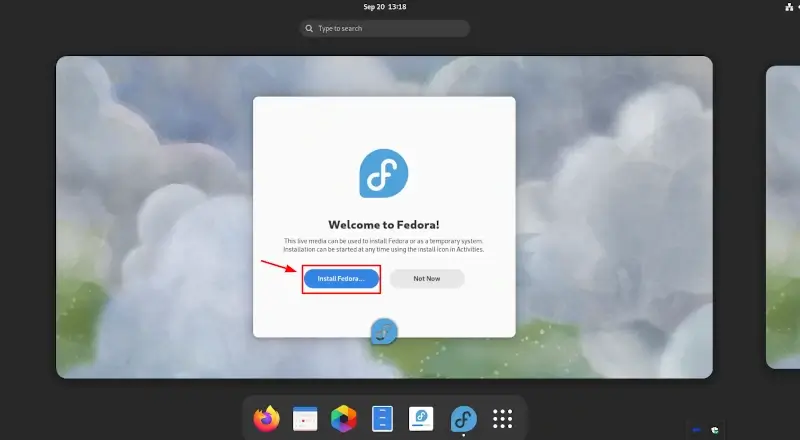
Shortly afterward, the Fedora 38 welcome screen will be displayed. Click the ‘Install Fedora’ button to begin the installation.
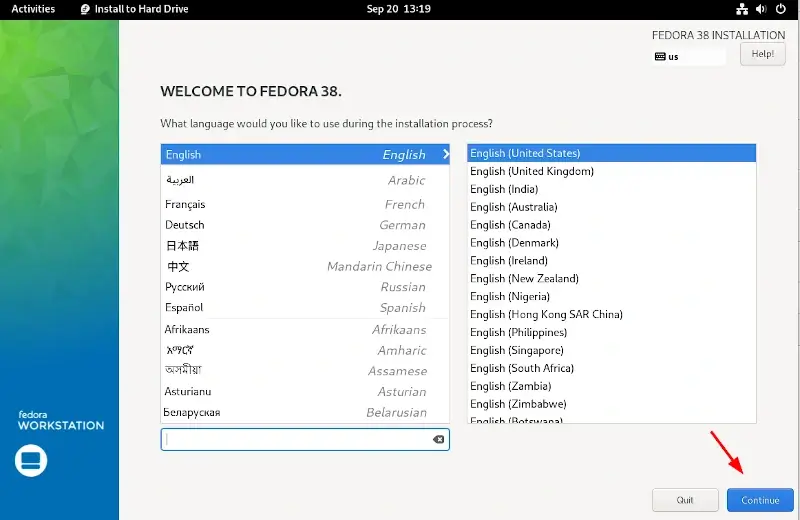
Next, select your preferred installation language and click ‘Continue’.
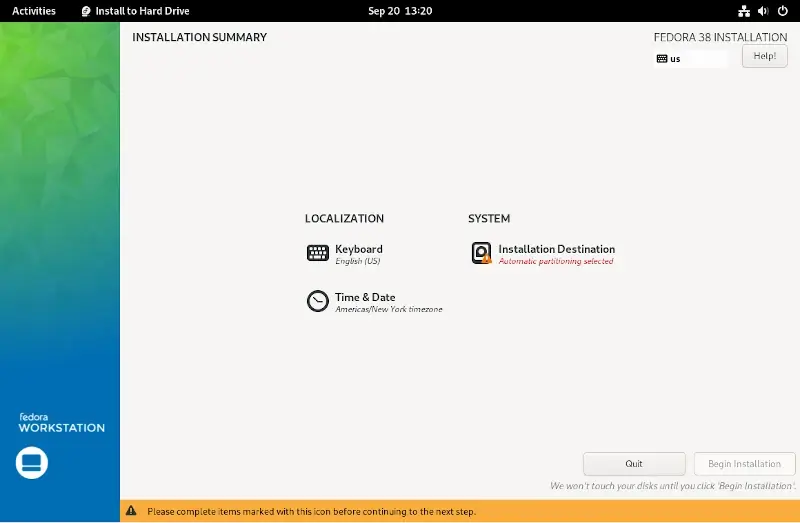
Moving on, the next step is to configure the partition table on your hard drive. So, click ‘Installation Destination’.
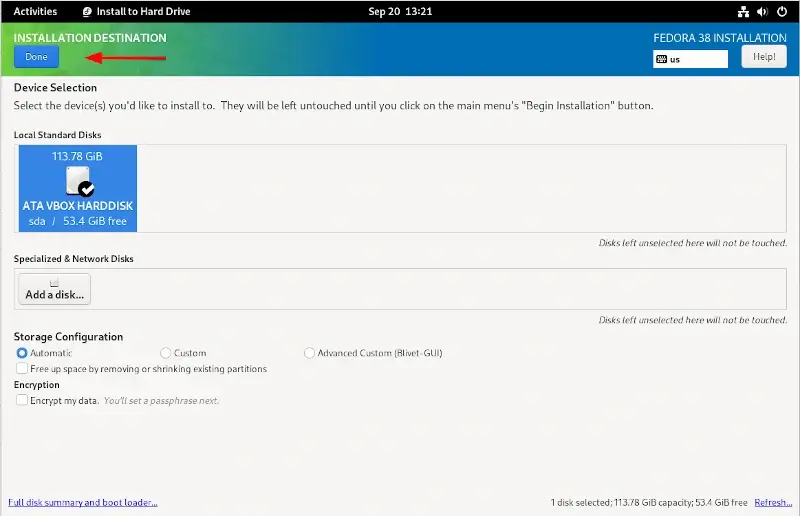
The PC hard drive is displayed Under ‘Device selection‘ with the amount of free space available for the installation. This should correspond to the reserved space created earlier in Windows. In our case, we have 53.4GB free of space.
By default, the automatic partitioning scheme is selected. We will go with this which places all the partitions under the root filesystem (/).
Next, click ‘Done’.
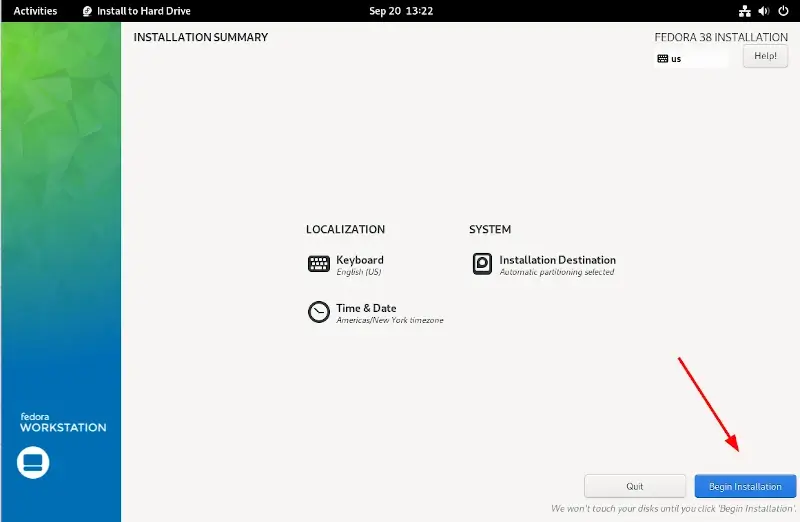
Once done, click the button to commence the installation of Fedora 38.
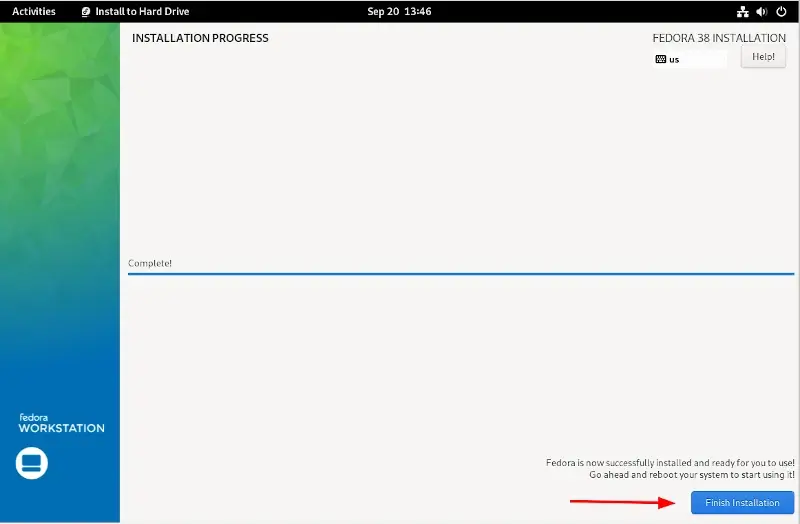
The installation will begin and will take some time depending on the state of your hard drive. In our case, this took roughly 15 minutes.

Once the installation is complete, click ‘Finish Installation’.
Be sure to reboot the system, and upon system reboot, you will see the Windows 10 entry on the GRUB menu as shown.
We will select the first option to finish setting up Fedora. Once Fedora starts up, click ‘Start Setup’ to continue setting it up.

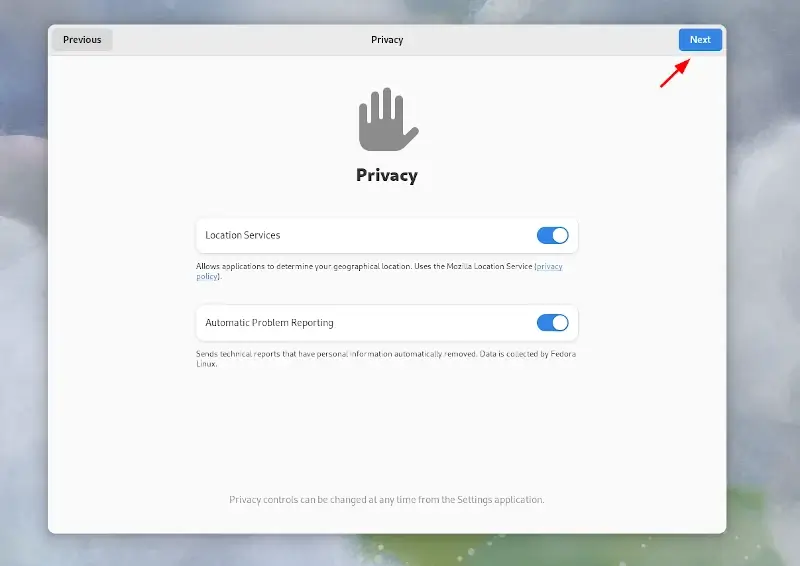
Decide whether to turn location services and automatic problem reporting on or off and hit ‘Next’.
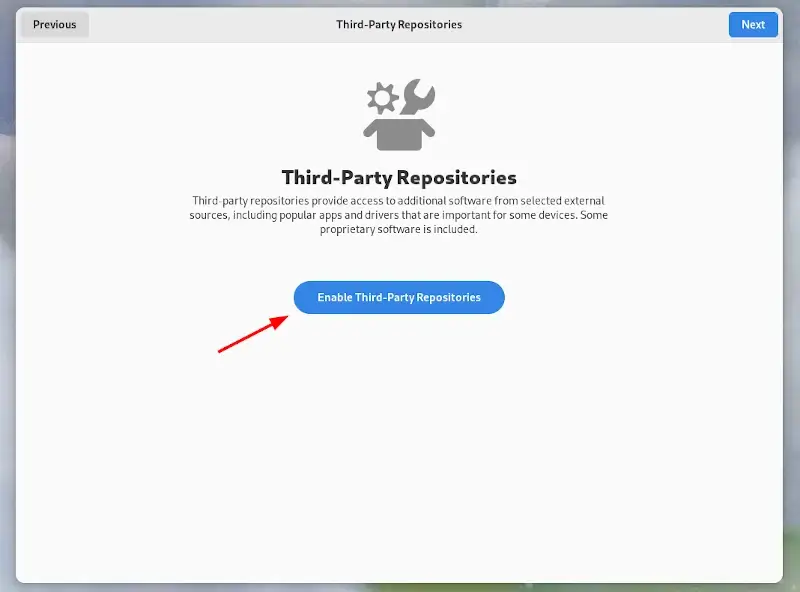
Next, click ‘Enable Third-Party Repositories’ if you want to have the benefit of having third-party repositories enabled by default. Then click ‘Next’.
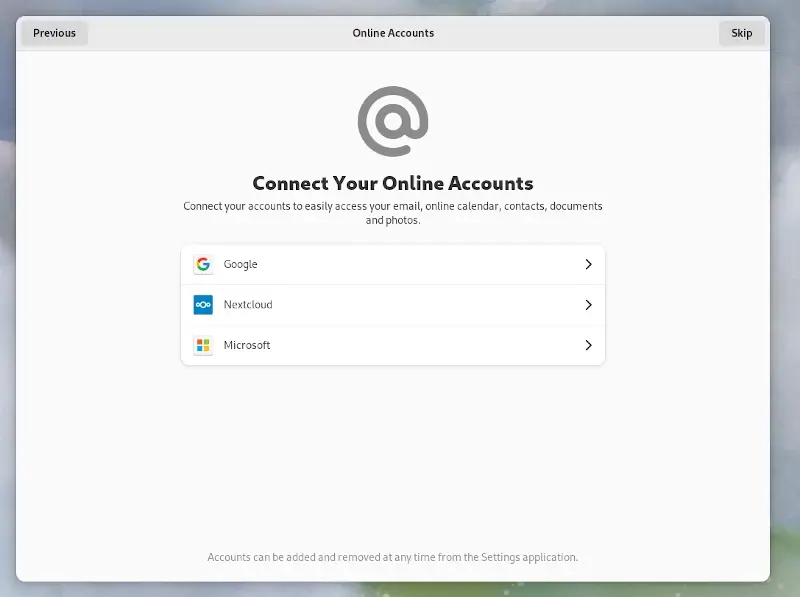
Choose whether to add any of your online accounts. You can skip this step if you wish to connect to them later. In this case, we will click ‘Skip’.
Next, type in your full name and username to create a regular login user. Then click ‘Next’.

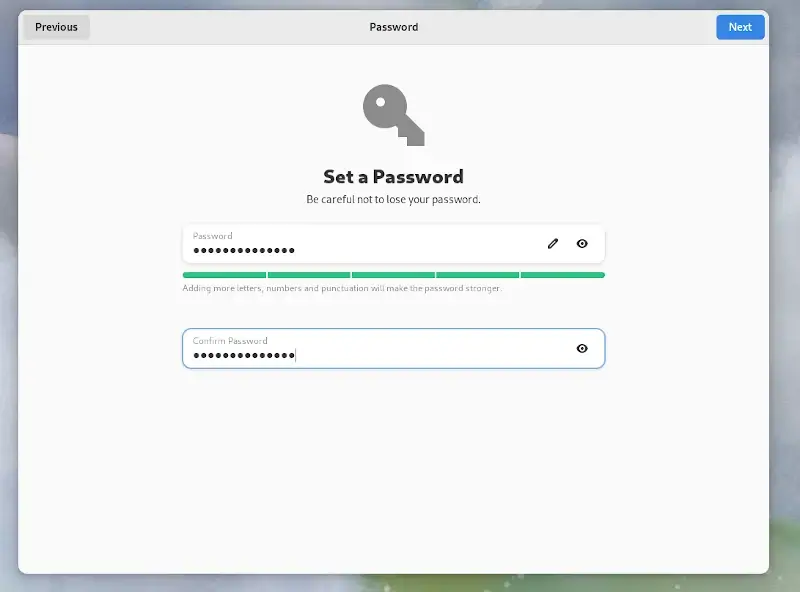
Be sure to also provide the user’s password. Then click ‘Next’.
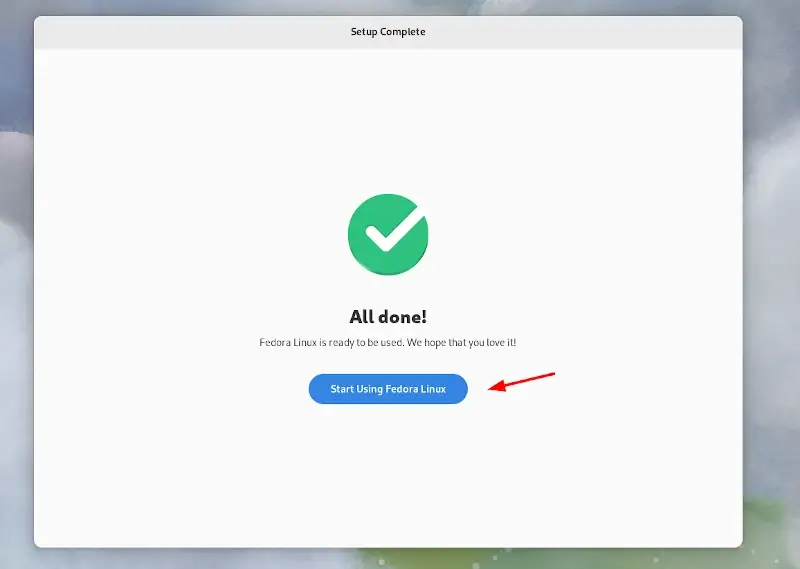
Finally, click ‘Start Using Fedora Linux’ to finish the Setup.
Conclusion
This wraps up our guide on the installation of a dual boot setup of Fedora 38 and Windows 10. Your feedback and comments are welcome.